You won't believe how easy this pie is to make~
At least the day before, peel and break apart 5 bananas. Freeze overnight. You'll use these in the pie.
Crust ingredients:
1/2 c each: raw almonds, raw pecans
10 dates
3 T maple syrup
Pie ingredients:
5 frozen bananas
1 ripe avocado
4 T raw cocoa
at least 2 T finely ground flax
1/3 c raw sugar
*Have 2-3 extra fresh, ripe bananas to slice into the middle of the pie.
INSTRUCTIONS
Blend crust ingredients together until finely ground. Press into lightly oiled springform pan.
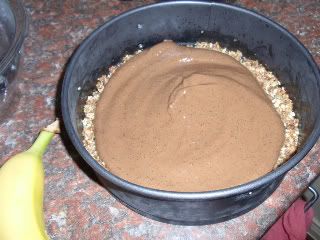
Now put all pie ingredients into the food processor and blend until very smooth. (Of course, grind your coffee beans and flax in a coffee grinder before adding to the food processor.) Pour half of the blended pie mixture onto the crust in the springform pan.
Now, slice your 2 extra fresh, ripe bananas across the pie.
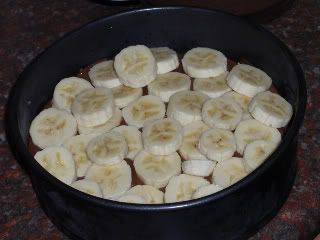
Then pour the remainder of the pie mixture over the bananas. Cover the bananas completely.
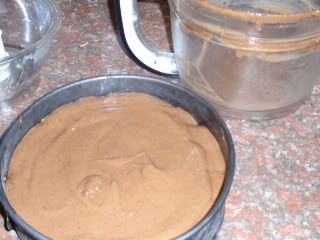
Freeze at least overnight. Do not remove from freezer until you're ready to chow down... and trust me, you will definitely chow down! Just slice and serve!
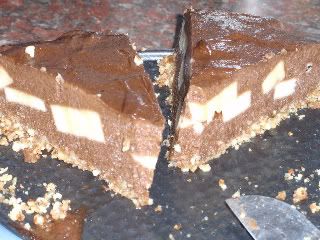
Store remainder of pie in freezer. When you serve, simply slice and let thaw for up to half hour to soften.
Thursday, July 30, 2009
Wednesday, July 29, 2009
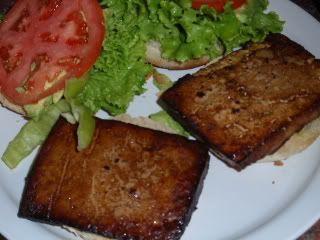
Irresistible baked tofu
I can't believe I didn't make this years ago!
Ingredients:
Block extra firm or firm tofu
Soy sauce
Optional: vegan worcestershire sauce
Open your tofu and drain off the water. Wrap your tofu in a clean rag or two paper towels. Place on a plate and cover with something moderately heavy, like another plate with a water bottle on top. Let the water drain out of the tofu for at least an hour. You may have to squeeze out your rag during this process.
Now, marinate the tofu in soy and worcestershire sauce in the fridge. Don't overdo it!.. drizzle your tofu, don't drown it. You can marinate for a few hours or overnight.
I use an oil sprayer to spray the baking tray and also spray a layer of oil on top of the tofu. Bake at 350 degrees for 15 minutes. Turn the tofu and bake for another 15 minutes. Repeat this process until desired crispness. I bake for 45 minutes to an hour, depending on how thick I slice the tofu.
It's great for sandwiches or salads, heated or cold! Trust me, you will love it.
Chocolate fruit crumble (raw)
So fast and easy! There are just 3 easy steps: fruit, syrup and crumble.
FRUIT
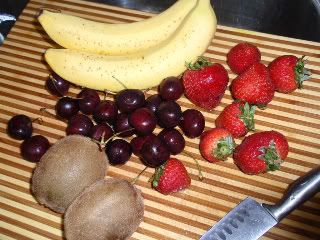
Gather your favorite fruits and slice them:
SYRUP
Mix 3 T maple syrup with 2 T cocoa powder. Set aside.
CRUMBLE
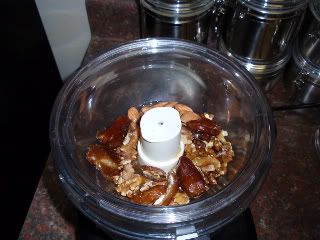
Now, put 1 cup raw nuts (I used 1/2 cup almonds, 1/2 cup walnuts) and 5 dates into the food processor.
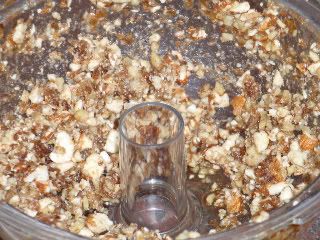
Blend until crumbly and sticky. Pour most of the syrup mixture into the food processor and pulse a few times.. and if you want, save some of the chocolate syrup to pour on top at the end.
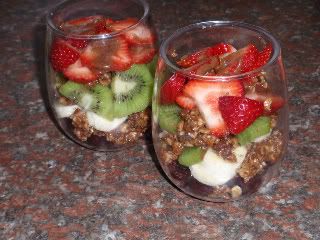
Now all you have to do is layer them in a pretty glass! Top with any extra syrup. Yum!
Thursday, July 23, 2009
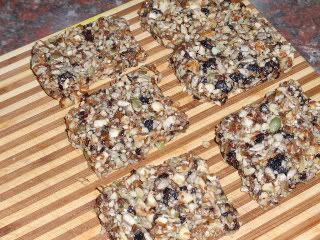
Chocolate energy bars (raw)
Do you want a truly healthy snack that gives you energy? Try this! This easy, quick recipe makes 8 energy bars.
Ingredients:
1/3 cup almonds
1/3 cup sunflower seeds
1/3 cup pumpkin seeds
1/2 cup dates
1/2 cup dried cherries (or other fruit)
2 T raw agave nectar
1 t vanilla
Optional chocolate topping ingredients:
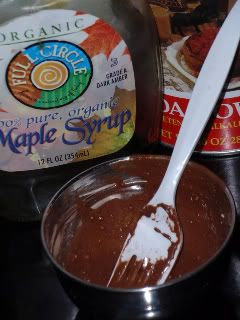
Equal parts pure maple syrup and raw cocoa powder
Directions:
Place all ingredients (except the chocolate topping) into food processor. NOTE: You can leave out the sunflower or pumpkin seeds until the rest is blended, if you prefer, and just stir them in by hand. BLEND until evenly chunky and sticky.
This is the fun part! Now, just pour the mixture into a small, square pan. You may slightly oil pan with olive oil, if you are afraid it will stick. Press evenly. Refrigerate for at least 1/2 hour so the mixture may harden slightly. When you remove from the fridge, simply slice into desired size squares.
Remove from the original dish. Flip and re-press each bar to make sure they are solid.
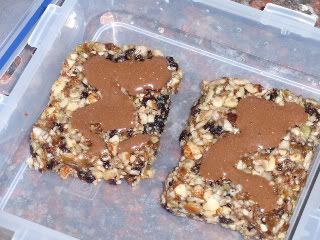
Now is the time that I mix the chocolate topping. Mix at little as 2 T of each to as much as twice that amount! It all depends on how much chocolate you want. I find that flexible, plastic forks mix the syrup and cocoa best.
Now pour the chocolate onto each of your energy bars. Freeze to help the chocolate mixture harden - then return to fridge and they're ready!
Enjoy!
Friday, July 17, 2009
Raw Pineapple Which-way-is-up Cake
This was the easiest, freshest, sweetest cake I've made to date. I had to take it away from Tyler so he wouldn't eat it all in one night!
Ingredient list
Crust:
1 1/2 c almonds
3/4 c dates
Topping:
Fresh pineapple
Fresh cherries
Glaze:
Optional - easily made with extra pineapple juice, dates and cherries.
Instructions
TOPPING
Fresh pineapples are cheap in the summer, so you should be eating them all summer long! Turn them into smoothies, juices, eat them fresh or add them to other desserts.
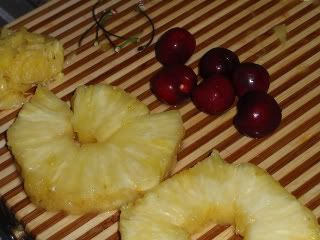
When you get home, turn your pineapple upside down for at least a half hour so the sugars in the pineapple will spread throughout the fruit before you cut it. Now, you'll want to remove the stem and about an inch off the top and bottom of the fruit. Now slice off the peel and remove any hard spots that remain on the fruit. **NOTE: Save the extra pineapple you cut off that isn't directly attached to the rind. You'll want to squeeze the juice from the meat into a bowl. Save this juice to soak your dates. Slice into rings (or however you prefer).
Wash, slice and remove the seeds from your fresh cherries. Set aside.
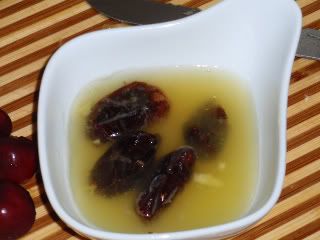
If you're making a glaze, place a few dates in the pineapple juice to soak before blending.
Dates soaking in pineapple juice:
CRUST
Throw the nuts and dates into your food processor. Blend until small but slightly chunky.
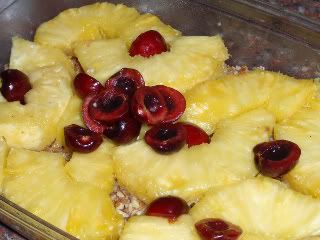
You can press this into a springform pan, individual plates or whatever container you plan to keep the cake in (in the fridge.) I used a simple plastic container with a lid. Now place pineapple slices across entire cake. You can add as many sliced fresh cherries as you like.
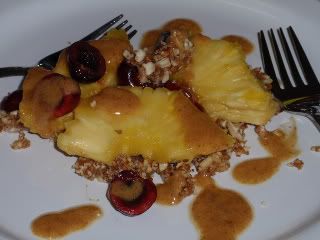
Before serving, blend your glaze (add water, orange juice, squeeze of lemon or agave nectar as needed to blend smoothly.) Pour this onto each serving, rather than on top of the entire cake. It's beautiful AND tastes amazing, too!
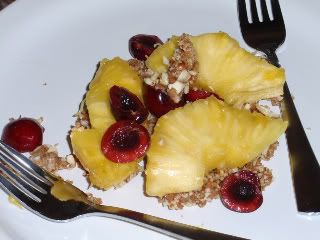
Serve without glaze:
Or with glaze:
Wednesday, July 15, 2009
Raw brownies with berry frosting
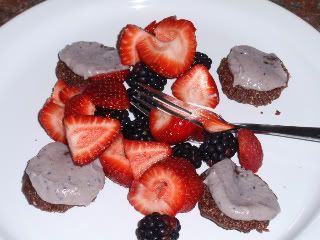
The brownie recipe was taken from www.therawdessert.com - I thought it was excellent! However, I changed the frosting recipe and gave it a berry flavor, to compliment the fresh strawberries on the side.
Serves 2 for several days!
For the brownie bites
1 c almonds
1 c pecans
1/3 cups Agave
1/4 cups Cacao
Pinch of quality salt
For the frosting
1 cups Cashews
3/4-1 tsp Vanilla
1/8-1/4 cups Agave
1/2 cup frozen berries
up to 1/8 cup water, as necessary
Make the frosting first, so you can put it in the fridge for a few minutes to thicken.
Frosting instructions:
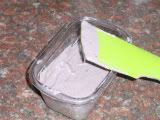
Add cashews to food processor and blend until a fine powder. This is very important! Then add all other ingredients (minus the water.) Blend. Add a little water at a time, to give it a creamy consistency. Blend, blend, blend. I used blueberries and strawberries in my frosting, so it came out purple. Just use whatever berries or fruit you'll be serving on the side (the juicier the fruit, the less water you will have to add. Keep that in mind!)
Put the frosting in the fridge to thicken while you make the brownies. They're easy!
Brownie instructions:
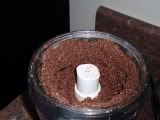
Put the almonds and cashews in the blender. Blend until they become very tiny or even powdery. Now add your dry ingredients and blend a few times. Now add the wet ingredients and blend until it's got a sticky consistency.
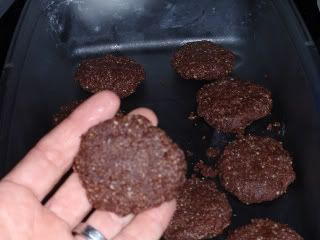
Now, just form your cocoa mixture into brownies, whatever shape or size you desire. You can put these in the fridge if you aren't serving them now. Or, you can take your cooled frosting out of the fridge, top the brownies and serve!
Experiment with different fruit flavors. The creamier you get the frosting, the better the presentation. I don't have fancy icing equipment so I just slather it on with a butter knife.. but you can get as fancy as you want. Have fun with it!
Spicy nut-meat for sandwiches or dips
This one is a work in progress but I really want to experiment with nut meats.
Experiment #1:
I used romaine lettuce for the wrap. Too bad my sprouts weren't completely sprouted.. they would've been great in this!
Nut meat ingredients:
1/4 cup each: pumpkin, sunflower seeds and walnuts
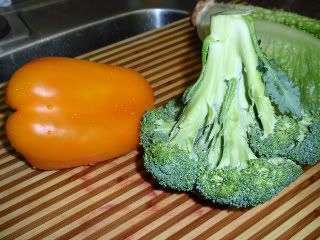
1/2 yellow bell pepper
1/2 head broccoli
2 sun-dried tomatoes, soaked (discard water)
1/4 fresh tomato
2 leaves of kale
Juice of 1/2-1 small lime (I included 1/4 of the meat as well)
1 tsp each: nama shoyu, cayenne, garlic, tumeric, sea salt
I put the nuts into the processor first but I don't know that this was necessary. Maybe if I add them in at the same time as the veggies they will crush as the same rate.
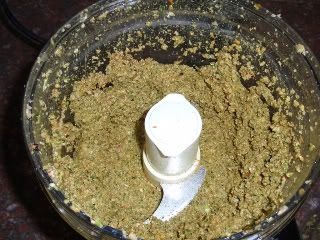
Or, if you process it as much as I did it makes a great spread for lettuce wraps or sandwiches but makes a great veggie dip, too! If you want it crunchier or more like the raw tacos, just pulse it or make sure you don't over process.
...finished product pictures to follow...
Subscribe to:
Posts (Atom)