I'm not sure what to call this one... but I would imagine this is twix-like. Of course, you can vary it that it tastes like any of your favorite candy bars, I bet!
Hopefully you've tried our raw, frozen snickers . But since it's winter - and I'm out of cacao butter - I thought I'd try a cooked version... perhaps something crunchy this time. So, here goes! Please let me know what you think.
Makes 8 twix-y bars
INGREDIENTS
1 c dates + water for soaking
1/2 t vanilla
1/4 c + 1 T agave
2 t almond oil (or any kind you have - almond is just a good oil for desserts)
1 T almond mylk (or your favorite)
1 c whole wheat flour
3/4 - 1 c chocolate chips
DIRECTIONS
Preheat oven to 350 degrees.
Place 1 c dates in bowl and cover with water.
In another bowl, mix flour, agave, oil and mylk.
This is when I use my trusty silicone candy bar mold from Hobby Lobby. It's the perfect shape for individual sized desserts or candies. Plus, you can push the dessert out because it's silicone! There's no need to oil and you don't have to worry about your dessert or candy getting stuck.
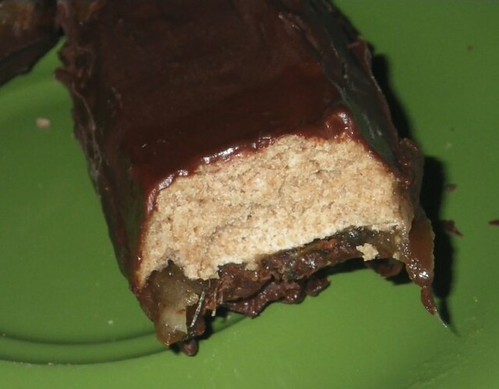
Spread flour mixture in all 12 of the candy molds -- or in your mold of choice. You don't want it too thick. Cook at 350 for 15 minutes. **Spread it thinner than the one in my photo. Thinner = crispier.

Meanwhile, drain excess liquid from dates through strainer. Place back in your bowl with dash (up to 1/2 t) vanilla. Squish until it's a squishy, sugary mess. Set aside.
Now begin melting your chocolate chips in a double boiler. I used my glass measuring bowl inside a pot with a few inches of water. Keep on medium-low heat. Stir periodically. It will melt itself. I promise. Don't rush or you'll burn the chocolate!
After 15 minutes, remove your mold from the oven. Now spread your dates on top of your baked flour. Place in freeze until stiff.
Your chocolate should be melted by now. Remove your mold from the freezer and cover with chocolate on each piece. DO NOT USE IT ALL. Put your mold back in the freezer until stiff again.

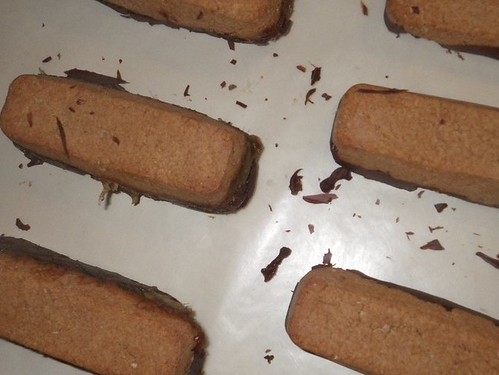
Now you'll remove it from the freezer and place chocolate-side-down on wax paper. This is when you'll use a spatula to spread the remaining chocolate on your candy bars. That's right -- make a mess. Have fun!
Freeze to last longer. Keep it fridge if you plan to devour soon.
OPTIONAL: sprinkle crushed nuts or sprinkles on top if you want. Get creative. You really can't screw this up. Promise.